
Choosing to conceal a dehumidifier within the ceiling during renovation—balancing functionality with aesthetics—is indeed a wise decision for many. However, this often leads to a common misconception: since the unit is “out of sight,” does that mean it’s “out of mind,” and you can completely neglect it?
The reality is quite the opposite. A ceiling-mounted dehumidifier that is neglected over time may quietly accumulate dust and harbor bacteria inside. This not only reduces dehumidification efficiency but can also cause the air it blows out to carry unpleasant odors, which in turn affects your family’s respiratory health. Installing the unit in the ceiling is just the first step; keeping it clean and running efficiently in the long term requires necessary daily cleaning and regular professional maintenance.
I. What Users Can Do Themselves: Regularly Clean the Return Air Vent Filter
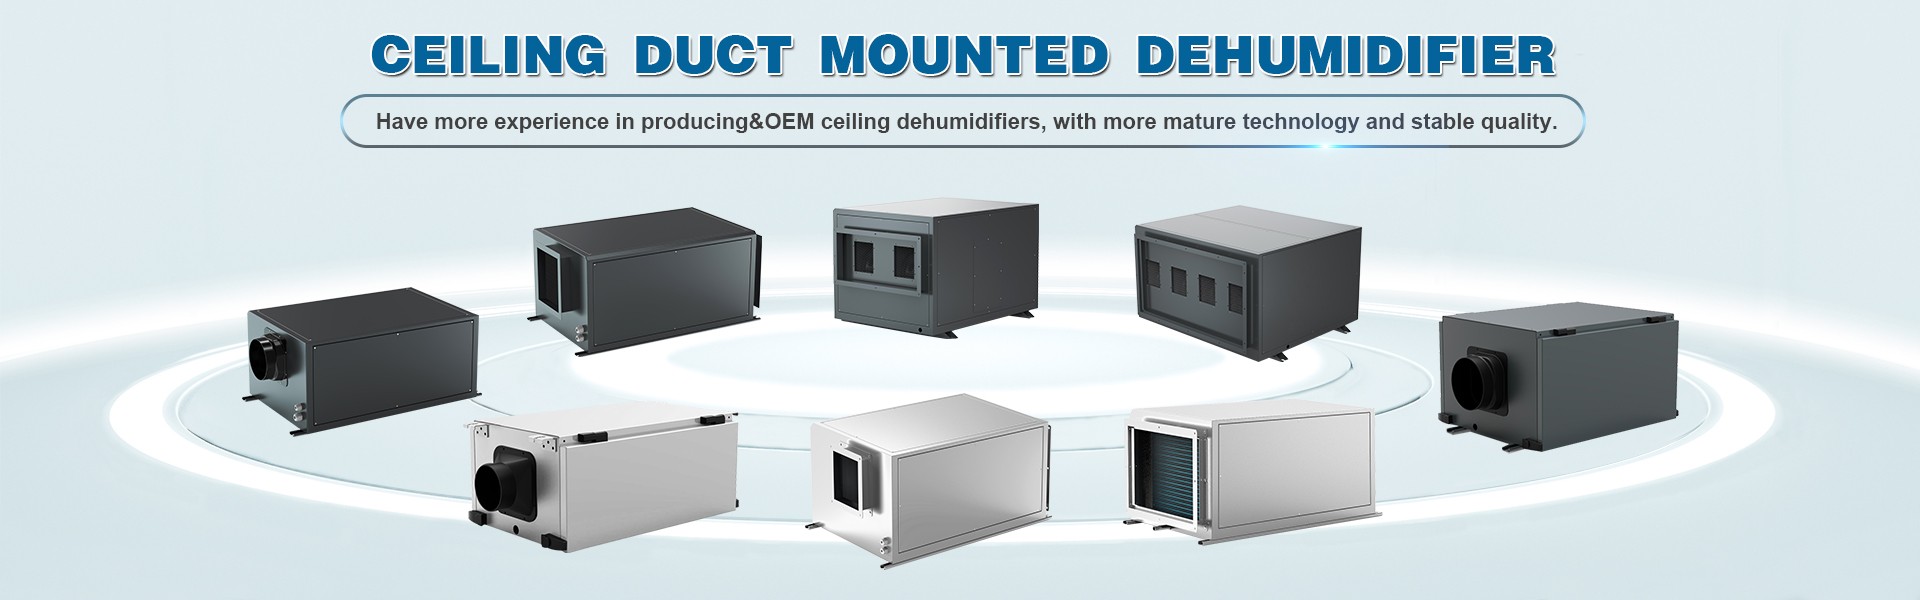
Ceiling-mounted dehumidifiers typically draw in humid indoor air through the return air vent, cool and dehumidify it via the evaporator, and then circulate it back into the room. The filter at the return air vent or inside the unit serves as the first line of defense against dust, lint, pet dander, and other airborne impurities.
If this filter isn’t cleaned regularly, it will become completely clogged with debris, obstructing airflow. The consequences are obvious: dehumidification performance drops significantly, forcing the unit to run for extended periods to maintain the set humidity level, which increases energy consumption. It may even overheat due to poor ventilation, shortening the unit’s lifespan. Worse still, a damp, dirty filter acts as a breeding ground for mold and bacteria—when air passes through it again, it becomes contaminated and is ultimately blown into every corner of the room.
Recommended cleaning frequency: Inspect once every 1 to 2 months. If you have pets or live in a dusty environment, we recommend increasing this to once a month.
The general steps are as follows:
Locate the air intake vent: This is typically a panel with a grille on the ceiling surface, secured by clips or screws.
Open and remove the filter: Carefully remove the panel and take out the filter inside. Structures may vary slightly by model; refer to the product manual for your first attempt.
Clean the filter: Use a vacuum cleaner to remove surface dust, or gently rinse with clean water. For heavy stains, soak the filter in a neutral detergent solution, then rinse thoroughly. Avoid using stiff brushes or highly corrosive cleaners, as these can damage the filter fibers.
Let it dry completely: The filter must be completely dry before reinstallation; otherwise, a damp filter placed in an enclosed environment is highly prone to mold growth.
Reinstall and secure: Place the dry filter back in its original position and snap the panel back into place.
The entire process takes less than ten minutes but effectively ensures the machine “breathes” smoothly, and it is the most direct way to ensure clean airflow.
II. Tasks Requiring Professional Service Every Few Years: Deep Maintenance Is Essential
The filter only traps large particles, while finer dust and issues naturally generated during operation cannot be resolved through routine cleaning. This is why, every few years, you should have a professional come to your home to perform a thorough deep maintenance service.
1. Deep Cleaning of Air Ducts and Internal Components
Over time, the air ducts inside the ceiling, evaporator fins, fan blades, and other components accumulate stubborn grease, dust, and mold. Ordinary users cannot disassemble these internal structures, and attempting to do so may damage precision parts. Professionals use specialized cleaning equipment and chemicals to thoroughly clean the evaporator, fan blades, and inner walls of the air ducts, eliminating the source of odors and restoring ventilation efficiency.
2. Inspecting and Cleaning the Condensate Pan and Drainage System
Dehumidifiers continuously produce condensate during operation, which is collected in the condensate pan and drained through a drain pipe. Since the condensate pan is constantly exposed to a damp environment, it easily becomes a breeding ground for bacteria, mold, and even mosquitoes. If the drain pipe is slightly clogged or improperly sloped, stagnant water may remain in the pan, leading to unpleasant odors over time. During professional maintenance, technicians will clean the drip pan and clear the drain lines to ensure condensate flows out smoothly, eliminating odors and preventing microbial growth at the source.
3. Check Refrigerant Pressure and System Sealing
A ceiling-mounted dehumidifier is essentially a small refrigeration system. As the unit ages, refrigerant pressure may drop due to natural depletion or micro-leaks, leading to a significant decline in dehumidification performance—where the compressor runs for extended periods yet extracts little moisture. Professionals will test the refrigerant pressure and, if necessary, recharge the system or locate leaks. This procedure requires specialized tools and expertise; users should never attempt it themselves.
4. Inspect the Fan Motor and Electrical Connections
After prolonged operation, the fan motor’s bearings may wear out and the capacitor may degrade, resulting in unstable rotation speeds or increased noise. Additionally, terminal connections may become loose due to vibration, posing a safety hazard. During a thorough maintenance service, an engineer will measure the motor’s operating current, inspect the capacitor’s condition, and tighten all electrical connections to ensure the unit’s safety and reliability.
Recommended Maintenance Schedule: In typical household settings, we recommend scheduling a professional deep maintenance service every 2 to 3 years. If the dehumidifier runs almost year-round, or if your home environment is particularly unique (such as a basement or a humid area near rivers or lakes), you may shorten the interval to once every 1 to 2 years.
Conclusion
Hiding the dehumidifier in the ceiling is meant to make your home tidier and quieter—not simply to “out of sight, out of mind.” Only a meticulously maintained ceiling-mounted dehumidifier can quietly safeguard dryness and health over the long term—clean air intake ensures that the air it expels is safe and reliable.
Remember these two key points: regularly clean the filter yourself, and every few years, have a professional perform a deep cleaning of the air ducts, drain pan, and refrigerant system. Only then will that “invisible guardian” hidden above your head truly be worthy of your trust.
 vivienhu0427@hotmail.com
 +86 15958041362
 vivien@hzfreeair.com