
Renovating a home is both an exciting and headache-inducing experience. Plumbing and electrical upgrades, ceiling installation, bringing in appliances… every step is interconnected, and even the slightest oversight can create hidden hazards for your future living environment.
If you’re planning to install a ceiling-mounted dehumidifier, there’s a harsh truth you must know: the success of the installation doesn’t depend on the machine itself, but on the “hidden work” done during the plumbing and electrical phase.
Many homeowners spend a fortune on high-performance dehumidifiers, only to find their ceilings “gutted” or the machine frequently malfunctioning due to poor drainage. The reason? The necessary preparatory work was overlooked.
The following secrets may not be voluntarily shared by your contractors, but you must keep a close eye on them yourself.
I. Access Panel: Don’t Let the Unit Get “Trapped” Inside the Ceiling
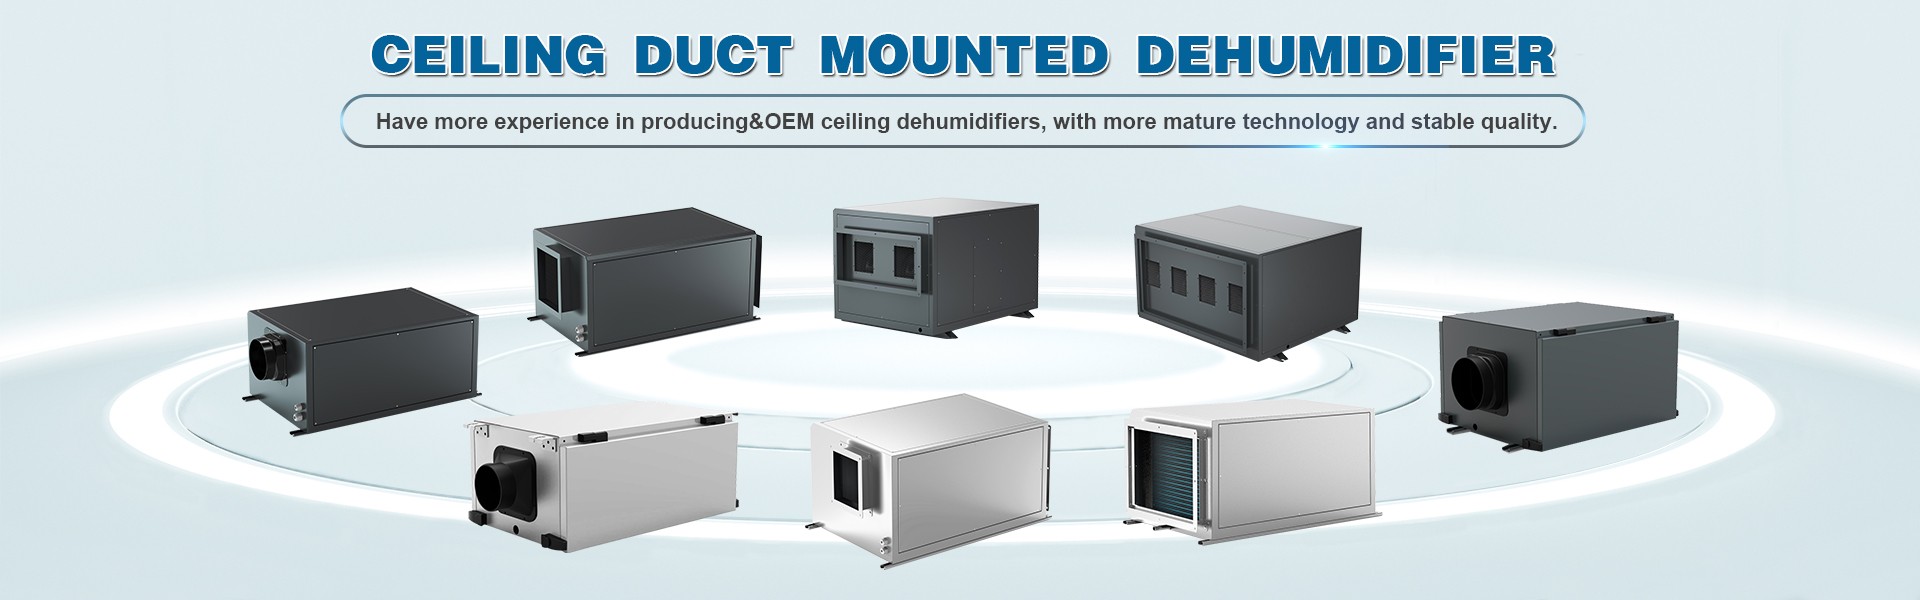
Ceiling-mounted dehumidifiers are hidden inside the ceiling, which means that once installed, routine maintenance and repairs must be performed through a designated “access panel.”
Many contractors, in pursuit of a sleek and seamless ceiling appearance, often make the access panel too small, place it in an illogical spot, or even forget to include one altogether.
Here’s what you should do:
During the plumbing and electrical coordination phase, confirm the dehumidifier’s installation location with the designer and project manager. Not only must an access panel be provided, but it must also be sufficiently large—typically no smaller than 450mm × 450mm—to ensure that the filter can be easily removed for cleaning in the future and that technicians’ hands and tools can reach inside without difficulty.
Remember, the access panel should be positioned directly opposite the unit’s core components (such as the fan, electrical box, and heat exchanger). If the access panel is placed in an irrelevant location, a malfunction could lead to the nightmare scenario of having to “tear down the ceiling.”
II. Condensate Drain Pipes: Slope Is the “Lifeline”
Ceiling-mounted dehumidifiers generate a significant amount of condensate during operation. This water drains naturally by gravity, so the layout of the condensate drain pipe is the most critical aspect of the concealed installation work.
Many installers, looking to cut corners, connect the pipes haphazardly, sometimes even creating a “reverse slope” or “flattening” the pipe. The result: water cannot drain properly, the machine detects excessively high water levels, and it frequently shuts down and triggers alarms; even worse, if the accumulated water overflows, it will directly damage the ceiling, causing incalculable losses.
Here’s what you should do:
Condensate drain pipes must be made of specialized PVC or PPR tubing, and a minimum slope of 1% must be maintained throughout the entire run—meaning for every meter of pipe, there should be a drop of at least 1 centimeter.
The pipe route should be as short as possible with minimal bends, as each bend increases the risk of blockages. Additionally, ventilation holes must be provided to prevent air locks in the piping that could hinder drainage. If conditions permit, the drain pipe should be routed independently to a floor drain or sewer line during the concealed work phase, with proper odor-proofing measures in place.
Never, for the sake of convenience, simply connect the dehumidifier’s condensate drain pipe in parallel with the air conditioner’s condensate drain pipe, and under no circumstances should it be directly connected to the sewage pipe. Otherwise, issues with odor backflow and sewage backup will leave you deeply regretting your decision.
III. Power Cables: Location and Specifications Must Be Precise
During the electrical and plumbing renovation phase, electricians must install a dedicated power cable for the dehumidifier. However, many electricians are unfamiliar with the installation requirements for dehumidifiers and often install the power cable in the wrong location or use cables that do not meet the required gauge.
Here’s what you should do:
First, confirm the unit’s power rating and obtain the exact power cable specifications from the HVAC supplier in advance. Typically, residential ceiling-mounted dehumidifiers require 2.5 square millimeters or larger national standard cables and must be controlled by a dedicated circuit breaker.
Second, the location of the power line is critical. The power line should be routed from the unit’s junction box, with sufficient length (recommended: 1.5 meters or more), rather than being haphazardly tucked into the ceiling. Many installers place the power line far from the access panel, resulting in insufficient length during installation and the need for splicing, which increases the risk of malfunctions.
Remember: Power wiring is part of concealed work. Once the ceiling is sealed, it is virtually impossible to replace or modify the wiring later.
IV. Ductwork Layout: Short, Straight, and Airtight Are Key
Ceiling-mounted dehumidifiers require intake and exhaust ducts to draw in humid air from the room, dehumidify it, and return it to the room. The effectiveness of dehumidification depends directly on whether the ductwork layout is designed reasonably.
Some irresponsible installers, in an effort to save materials or cut corners, will arbitrarily bend the ducts or use flexible hoses that are too long or have too many bends. This drastically increases air resistance, preventing the unit from drawing in air or expelling it, and significantly reducing dehumidification efficiency.
Here’s what you should do:
Duct design must follow the principles of “short, straight, and sealed.” Minimize duct length and reduce the number of bends as much as possible. If bends are necessary, use pre-made elbows instead of forcibly bending the ducting.
Position the intake and exhaust vents at a sufficient distance to avoid creating a “short circuit”—where the dry air just dehumidified is immediately sucked back in, causing the unit to work inefficiently. Typically, the supply and return vents should be located diagonally across the room from each other, or at least 2 meters apart.
Additionally, duct connections must be tightly sealed with aluminum foil tape and secured with cable ties. Ordinary tape will age and peel off over time, causing air leaks. This can lead to dust accumulation, condensation, and even mold growth inside the ceiling cavity.
V. Control Wires: Run Conduits in Advance to Avoid Regrets
Ceiling-mounted dehumidifiers typically come with a wired controller, requiring a control wire to be run from the unit’s location to the wall switch box. This wire must be routed through pre-installed conduit during the electrical and plumbing renovation phase.
Many homeowners only realize they forgot to reserve space for the control wire after the walls have been painted and the ceiling has been closed off. As a result, they are forced to run exposed wiring or use a remote control as a substitute, which not only compromises aesthetics but also significantly reduces the user experience.
Here’s what you should do:
During the electrical and plumbing work phase, confirm the controller’s installation location (typically side-by-side with the light switch at the same height), and run a conduit from the dehumidifier’s installation site to the controller’s junction box. Leave a pull string inside the conduit so that the dedicated control wire can be threaded through during equipment installation.
Conclusion
A ceiling-mounted dehumidifier is essentially a “semi-finished product”; its true value is realized through meticulous, standardized installation. The core of the installation lies in the concealed work carried out during the electrical and plumbing renovations and before the ceiling panels are closed off.
As a homeowner, you don’t need to be an expert, but you do need to think ahead—at the very start of the renovation, before the walls are paneled and the ceiling is closed off, you must confirm every detail regarding access panels, drain pipes, power sources, air ducts, and control wires.
Remember this principle: everything hidden behind the ceiling must be double-checked and confirmed before the ceiling is closed off.
Once the ceiling is sealed, those “invisible” issues will inevitably turn into “visible” problems and “uncalculable” costs. Rather than tearing down the ceiling or chiseling through wall panels later, it’s better to put in a little extra effort during the plumbing and electrical phase to get it right the first time.
 vivienhu0427@hotmail.com
 +86 15958041362
 vivien@hzfreeair.com